
'%3e%3cpath%20d='m19.6%2066.5%2019.7-11%20.3-1-.3-.5h-1l-3.3-.2-11.2-.3L14%2053l-9.5-.5-2.4-.5L0%2049l.2-1.5%202-1.3%202.9.2%206.3.5%209.5.6%206.9.4L38%2049.1h1.6l.2-.7-.5-.4-.4-.4L29%2041l-10.6-7-5.6-4.1-3-2-1.5-2-.6-4.2%202.7-3%203.7.3.9.2%203.7%202.9%208%206.1L37%2036l1.5%201.2.6-.4.1-.3-.7-1.1L33%2025l-6-10.4-2.7-4.3-.7-2.6c-.3-1-.4-2-.4-3l3-4.2L28%200l4.2.6L33.8%202l2.6%206%204.1%209.3L47%2029.9l2%203.8%201%203.4.3%201h.7v-.5l.5-7.2%201-8.7%201-11.2.3-3.2%201.6-3.8%203-2L61%202.6l2%202.9-.3%201.8-1.1%207.7L59%2027.1l-1.5%208.2h.9l1-1.1%204.1-5.4%206.9-8.6%203-3.5L77%2013l2.3-1.8h4.3l3.1%204.7-1.4%204.9-4.4%205.6-3.7%204.7-5.3%207.1-3.2%205.7.3.4h.7l12-2.6%206.4-1.1%207.6-1.3%203.5%201.6.4%201.6-1.4%203.4-8.2%202-9.6%202-14.3%203.3-.2.1.2.3%206.4.6%202.8.2h6.8l12.6%201%203.3%202%201.9%202.7-.3%202-5.1%202.6-6.8-1.6-16-3.8-5.4-1.3h-.8v.4l4.6%204.5%208.3%207.5L89%2080.1l.5%202.4-1.3%202-1.4-.2-9.2-7-3.6-3-8-6.8h-.5v.7l1.8%202.7%209.8%2014.7.5%204.5-.7%201.4-2.6%201-2.7-.6-5.8-8-6-9-4.7-8.2-.5.4-2.9%2030.2-1.3%201.5-3%201.2-2.5-2-1.4-3%201.4-6.2%201.6-8%201.3-6.4%201.2-7.9.7-2.6v-.2H49L43%2072l-9%2012.3-7.2%207.6-1.7.7-3-1.5.3-2.8L24%2086l10-12.8%206-7.9%204-4.6-.1-.5h-.3L17.2%2077.4l-4.7.6-2-2%20.2-3%201-1%208-5.5Z'/%3e%3c/svg%3e)
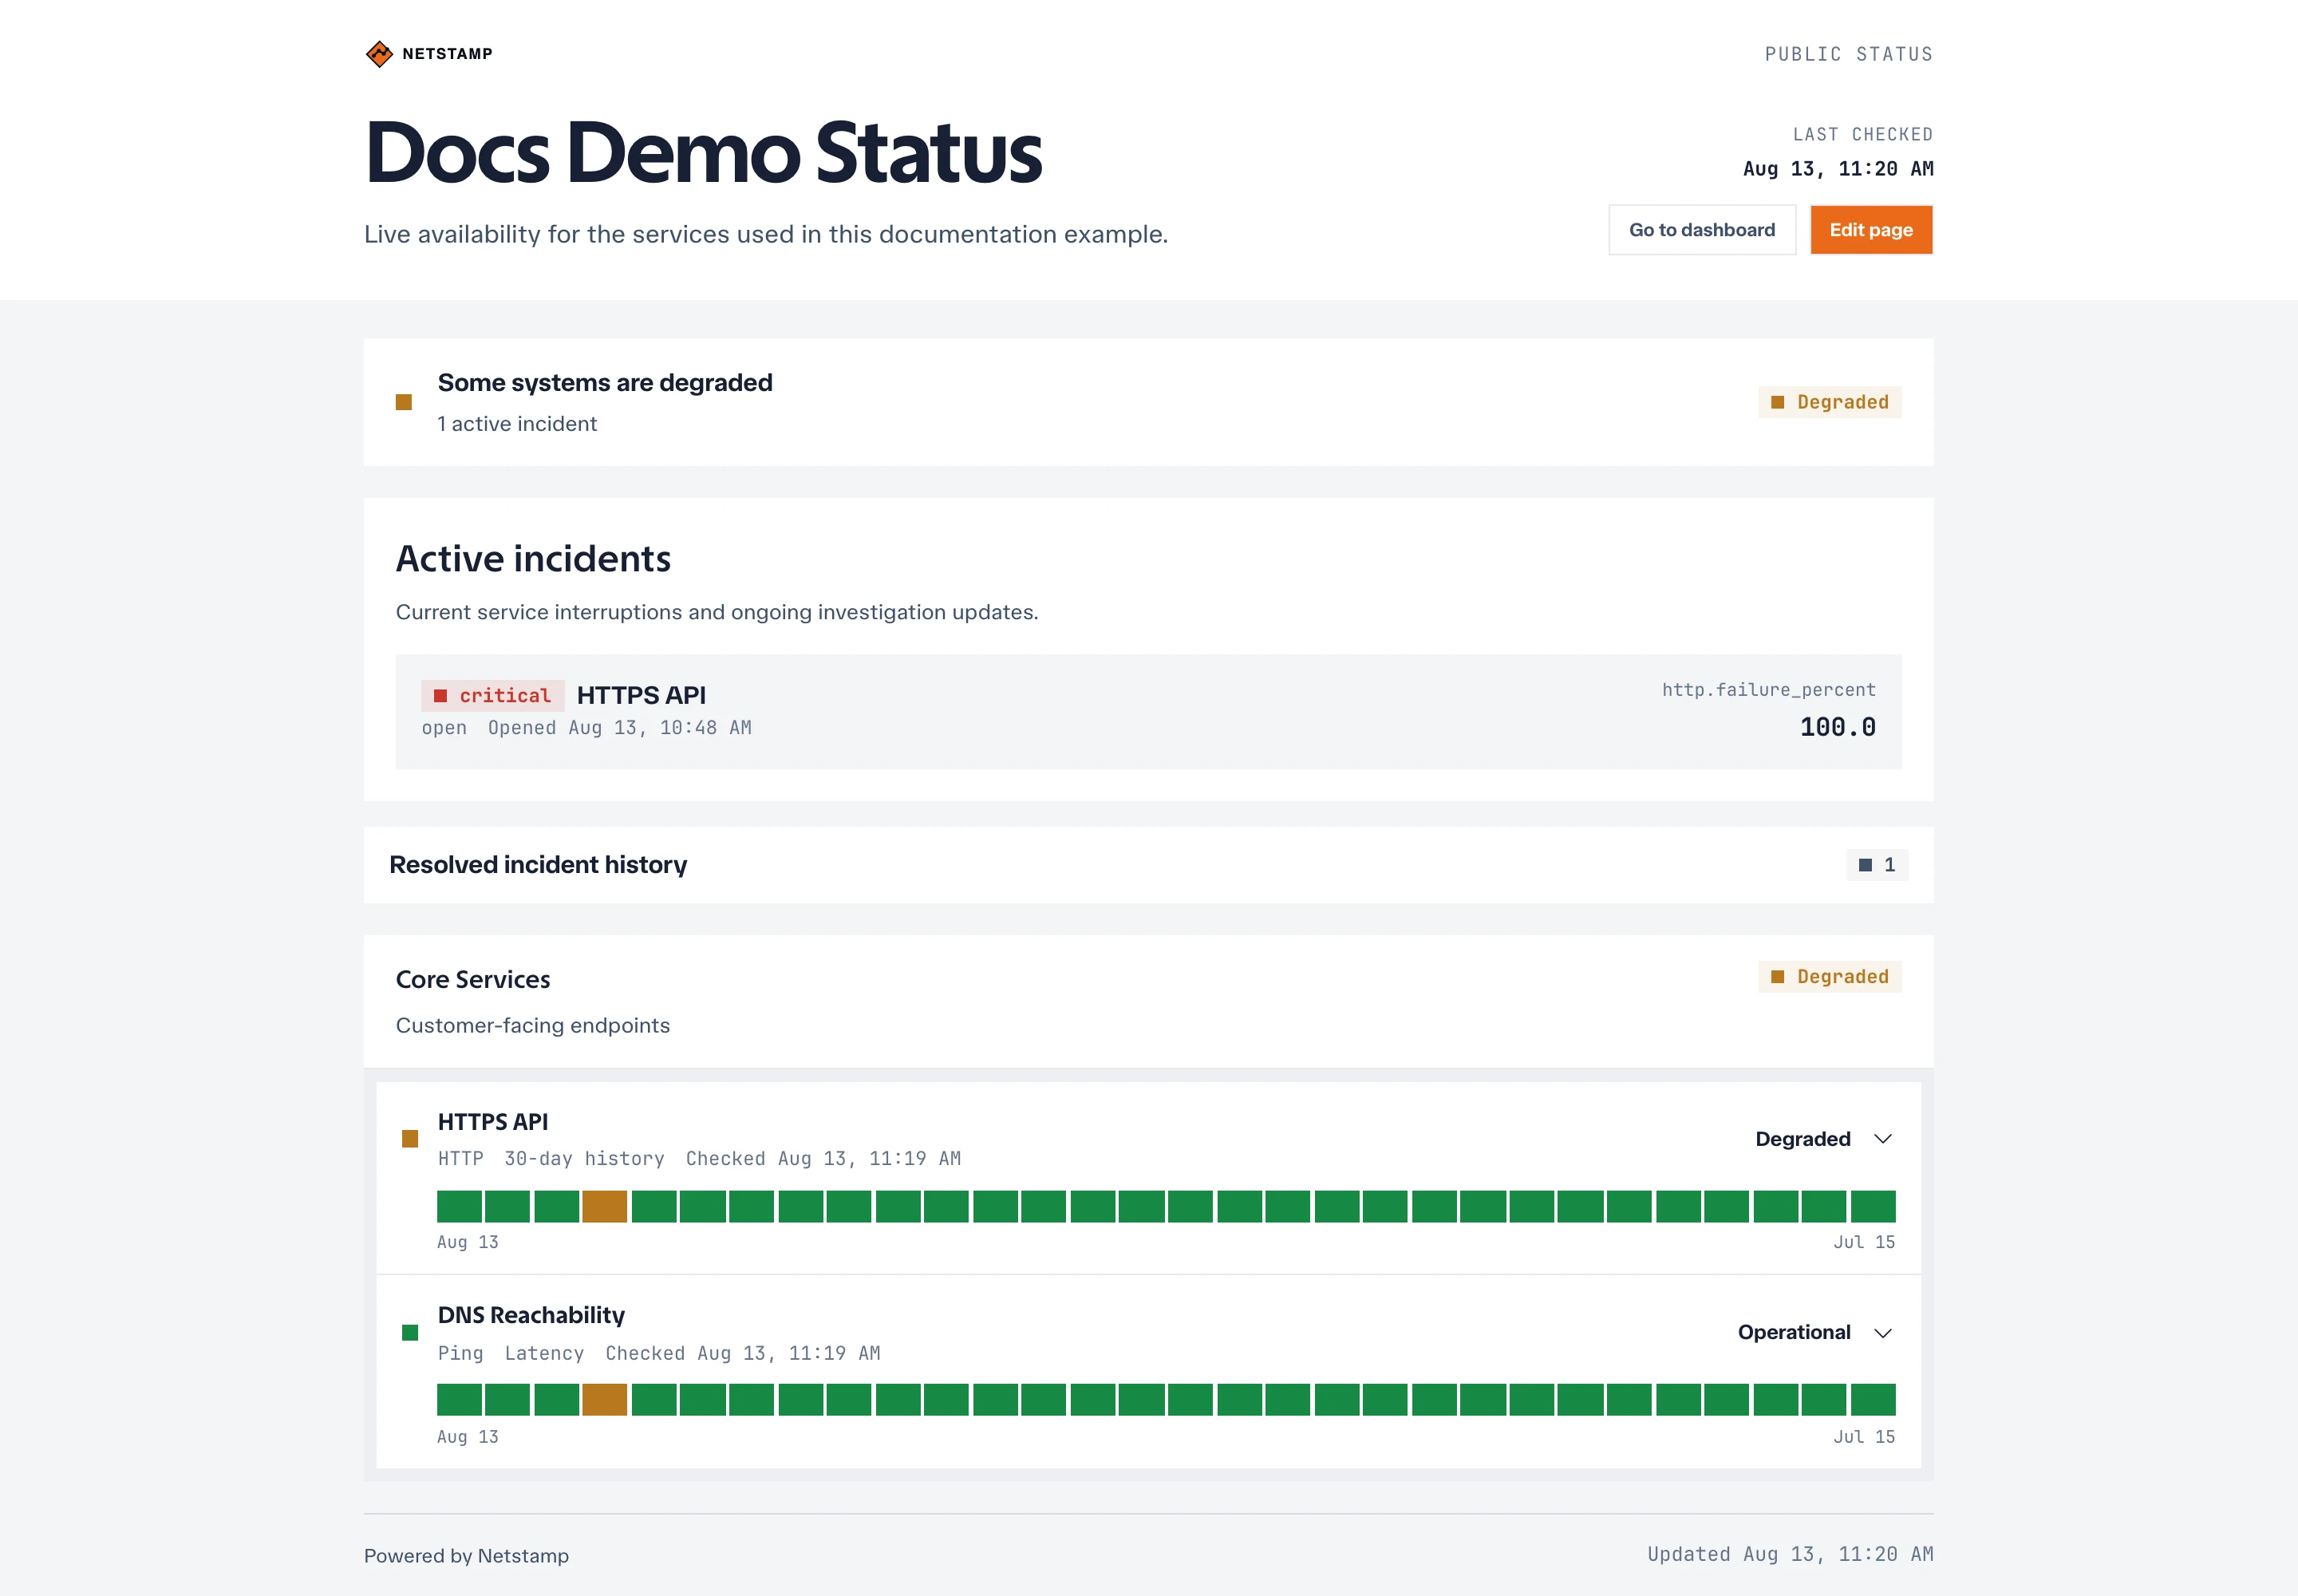
Status pages publish selected monitoring health without requiring a Netstamp account. Each page belongs to a project and is available at /status/<slug>.
Create a status page
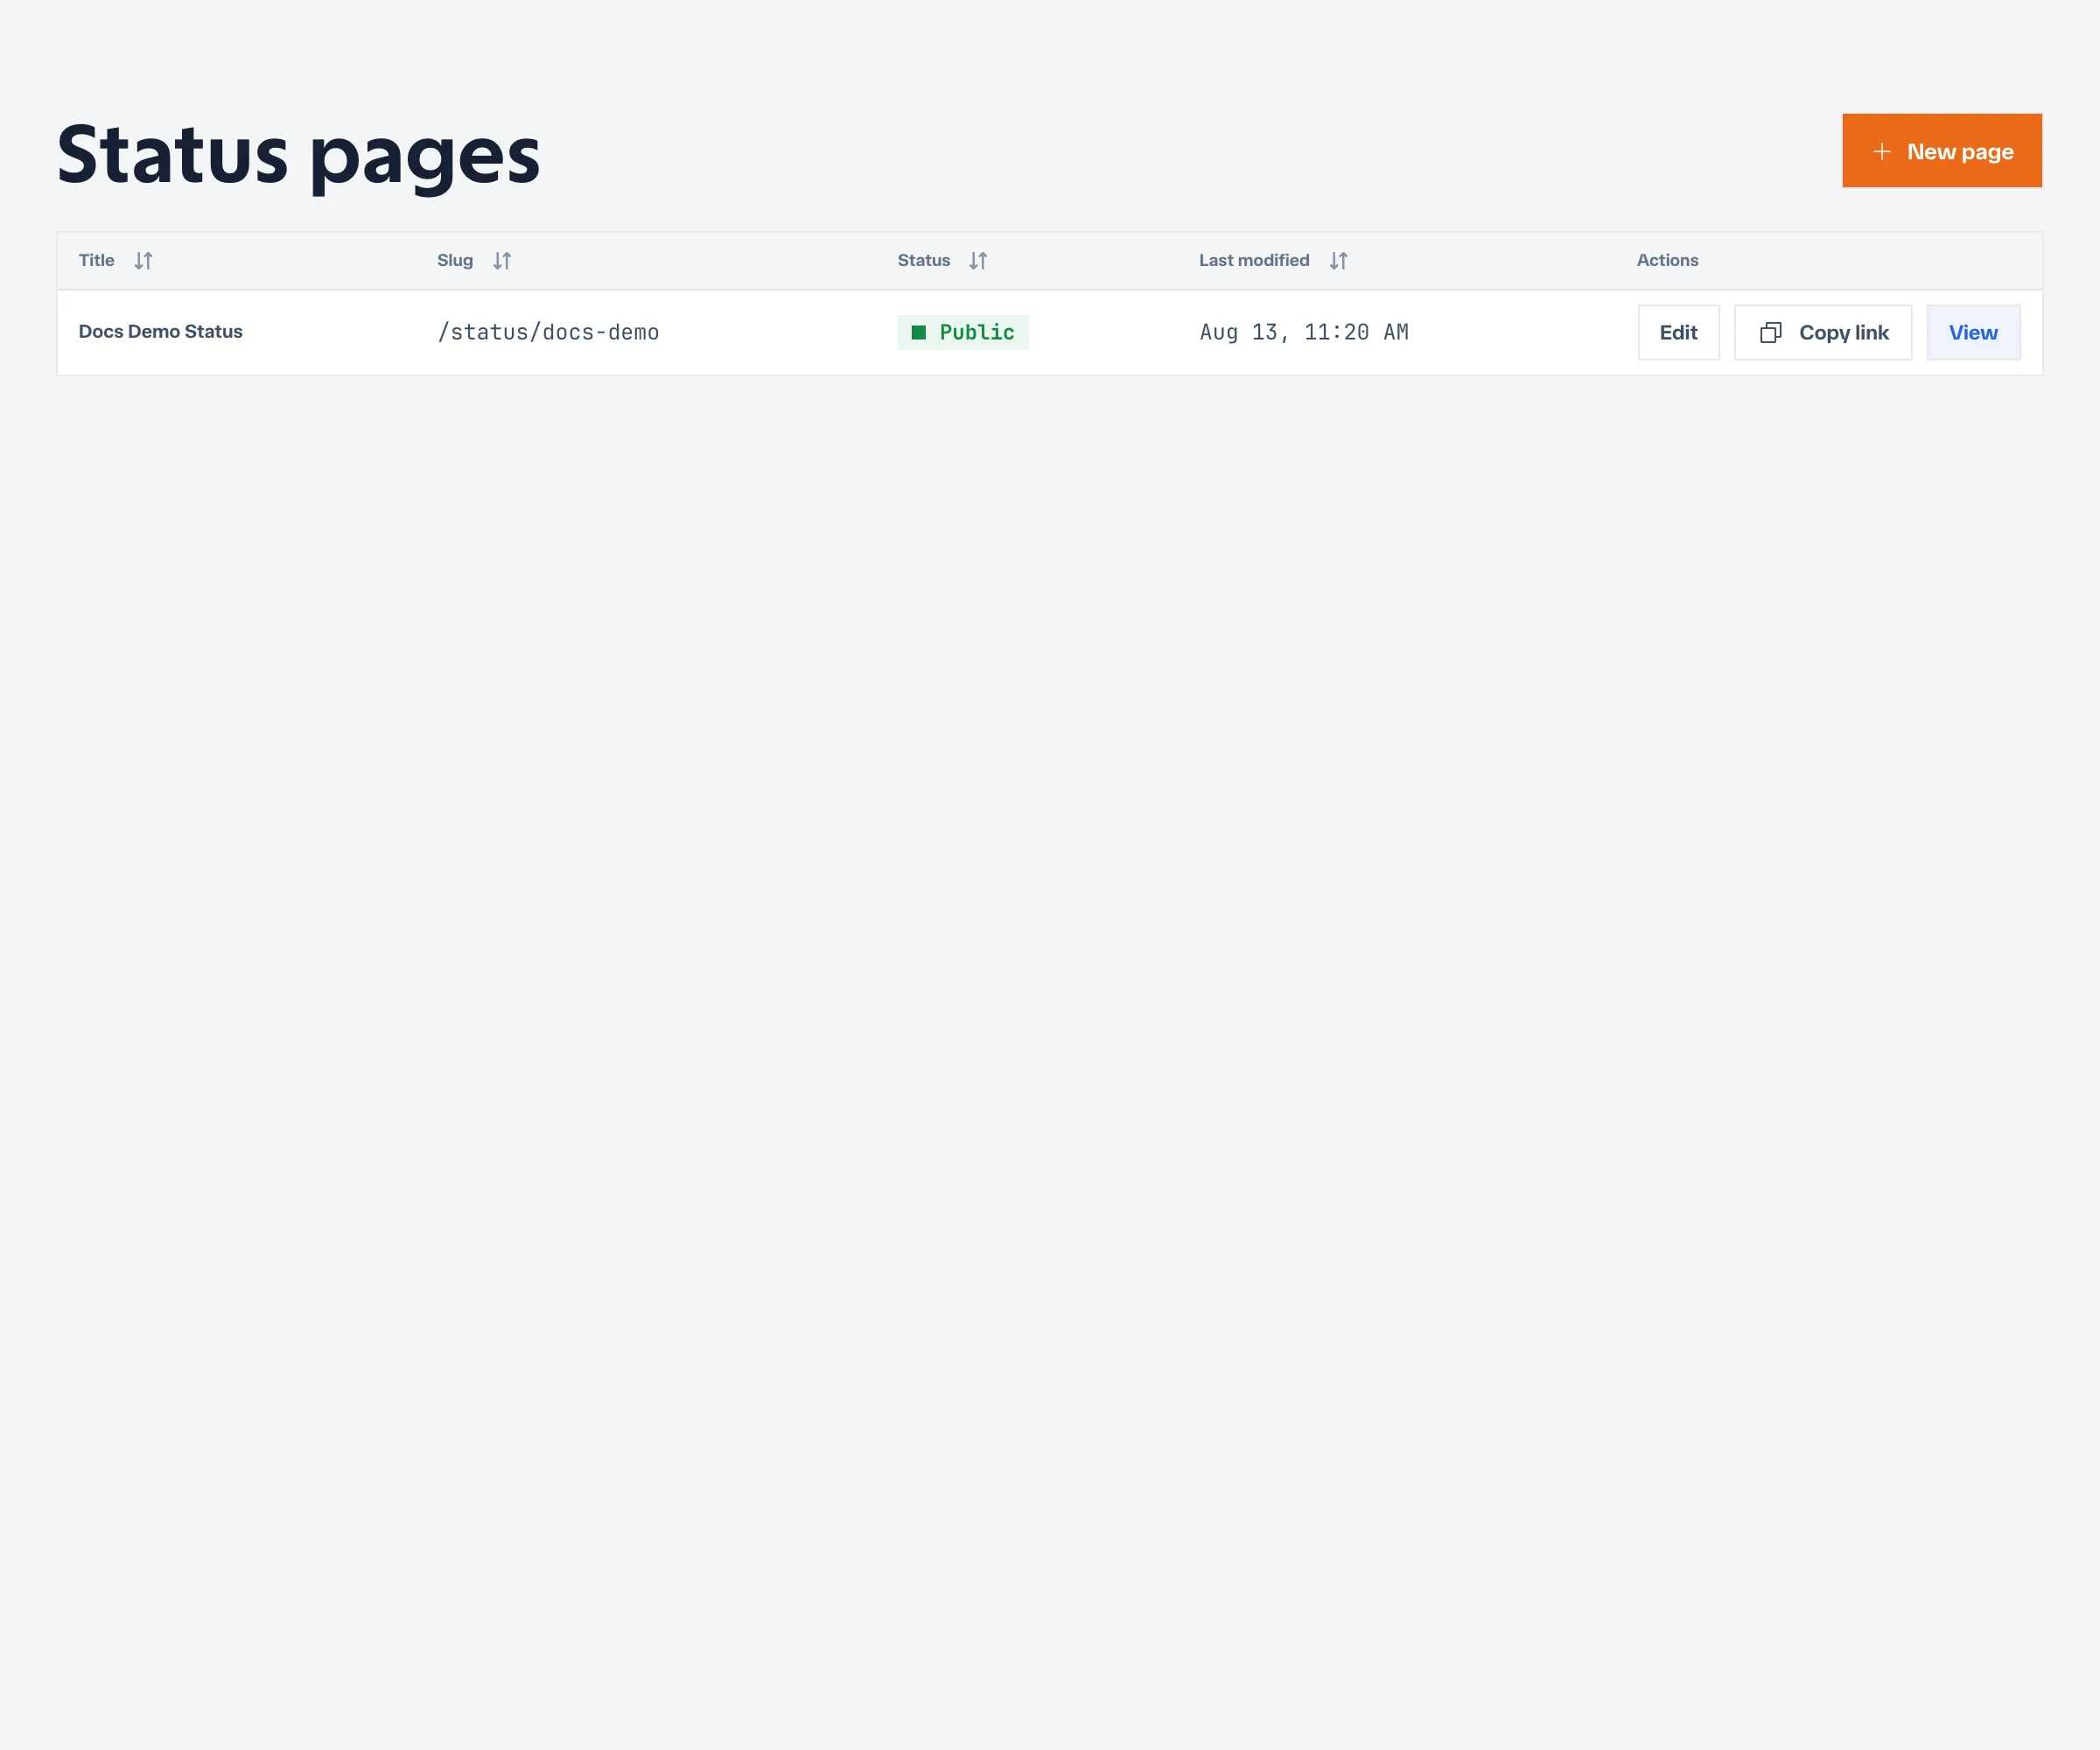
- Open Status pages in the project.
- Choose New page.
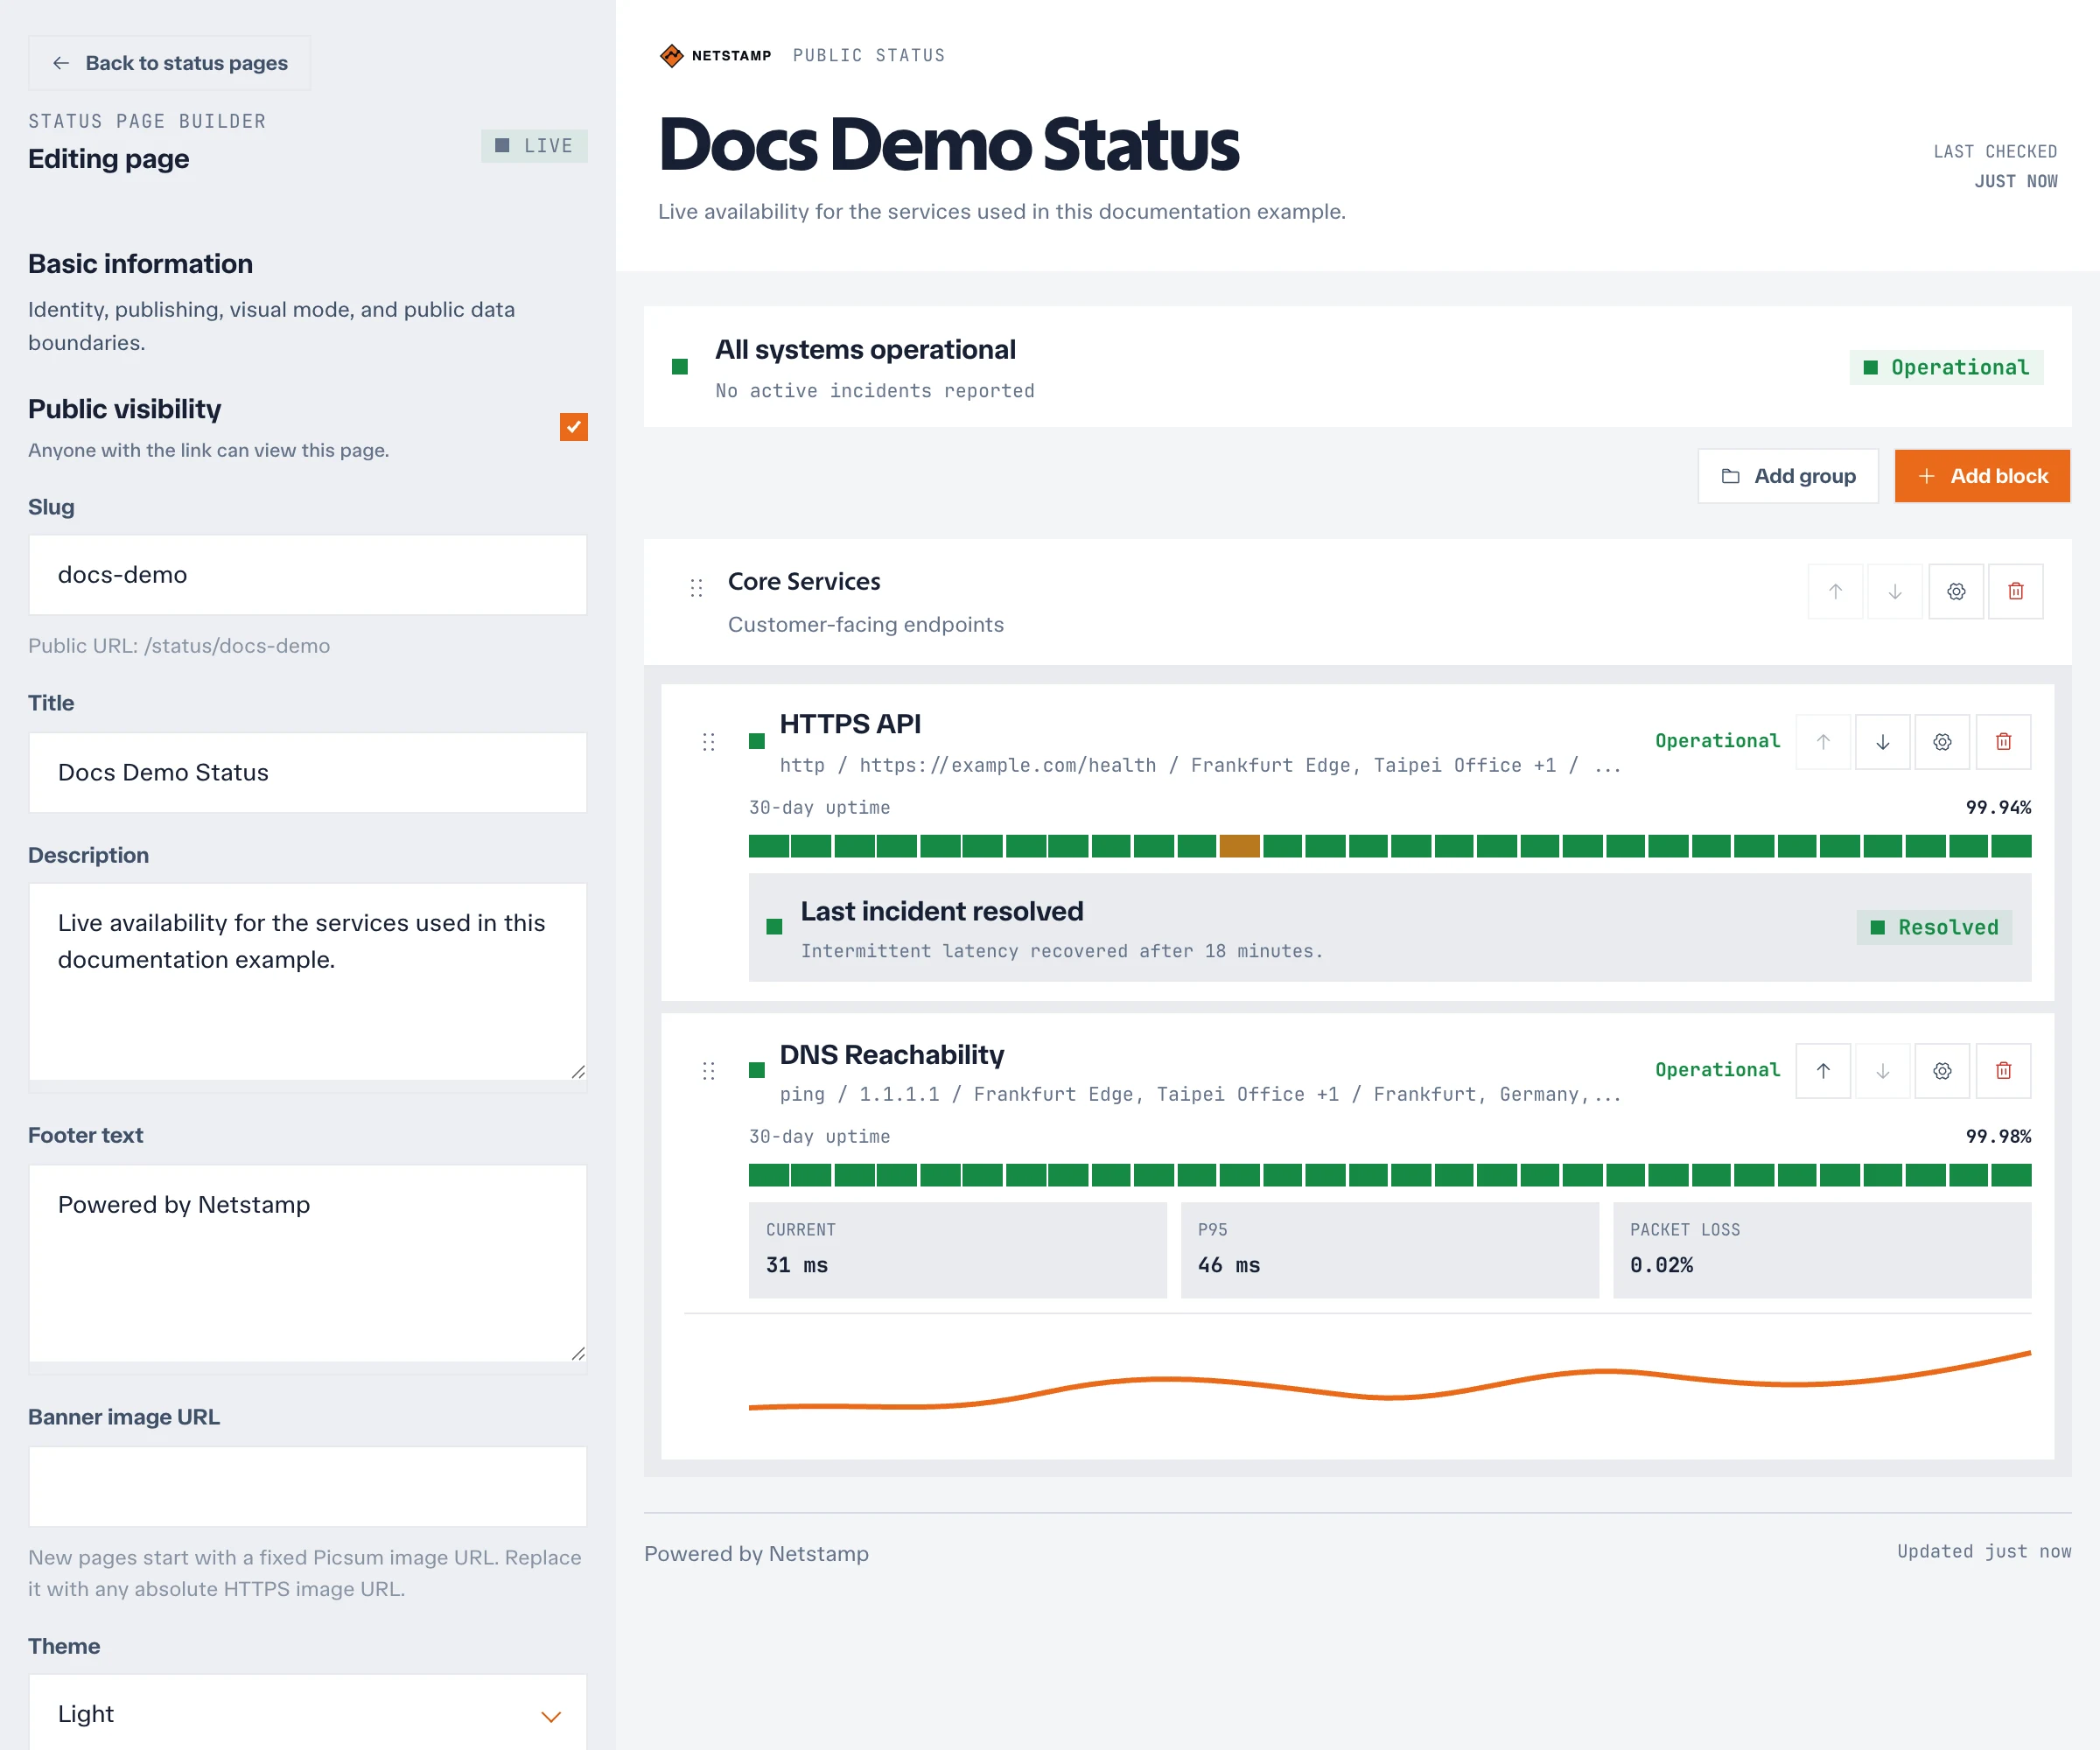
- Set a name and unique slug.
- Add the checks that should be public.
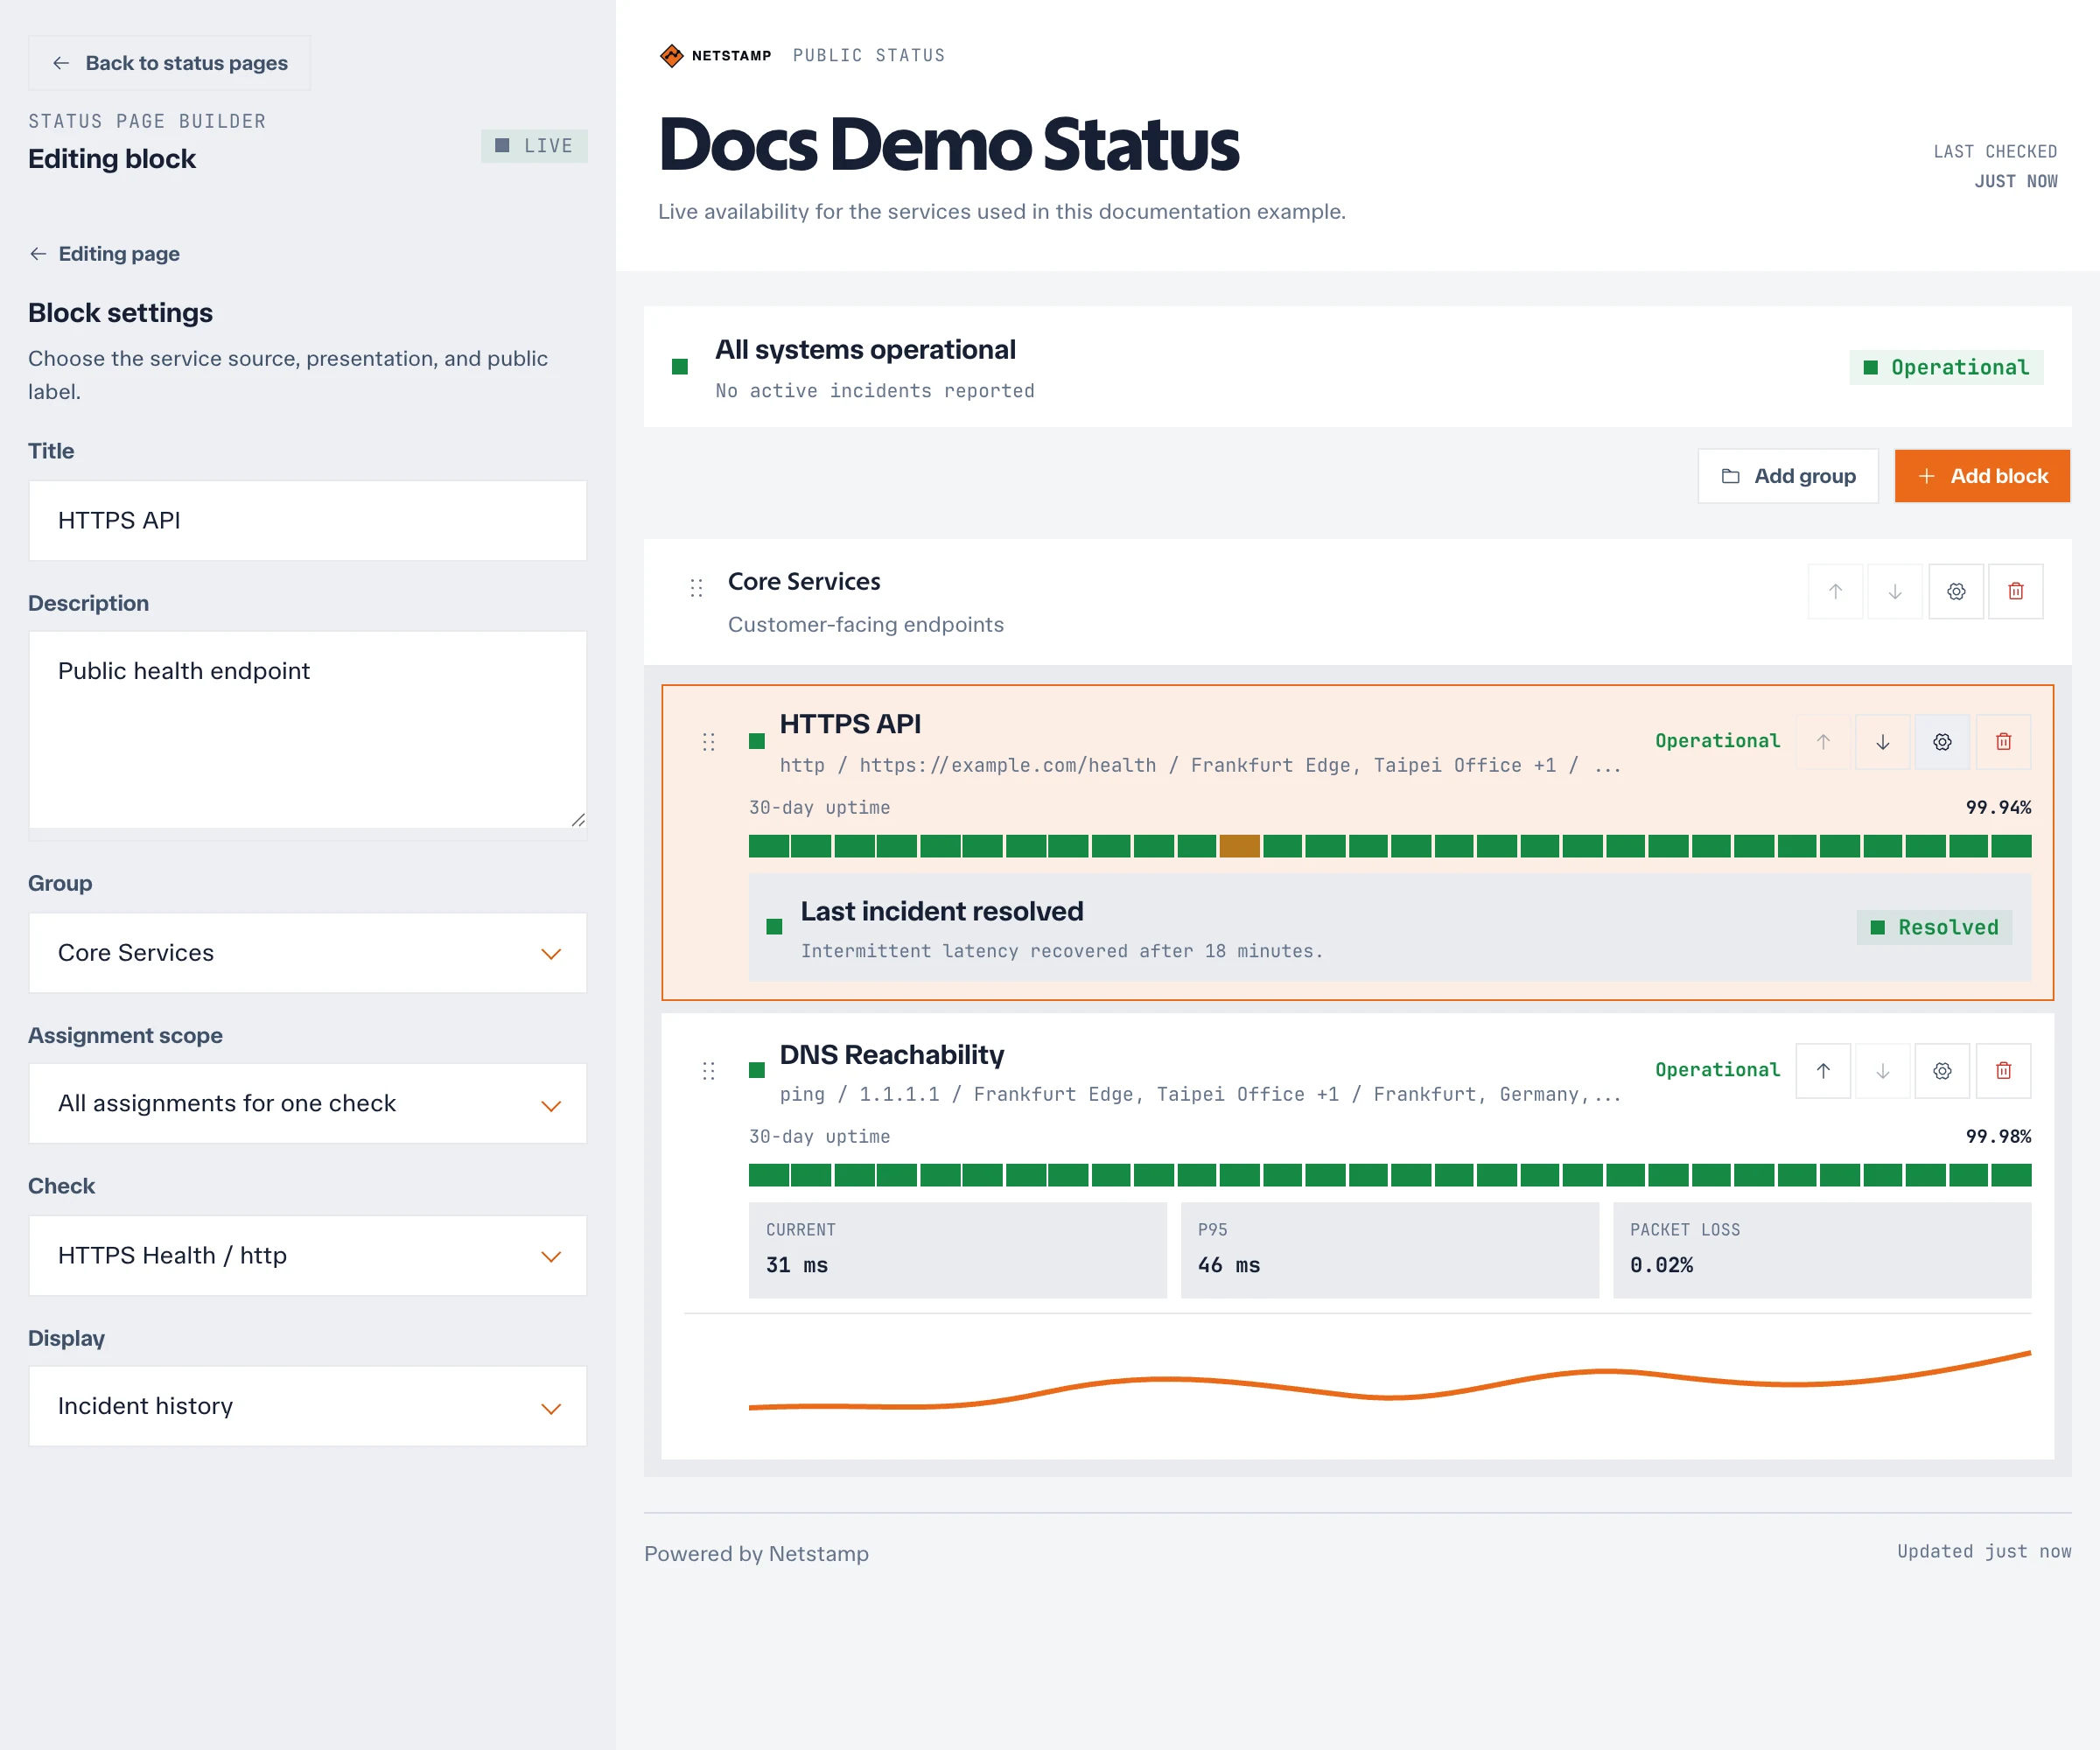
- Configure the page presentation and save it.
Open the public URL in a private browser window to verify what an unauthenticated visitor can see.
Choose what to publish
Use status pages for externally meaningful services rather than every internal check. Group checks around the service language your audience understands, and use clear display names.
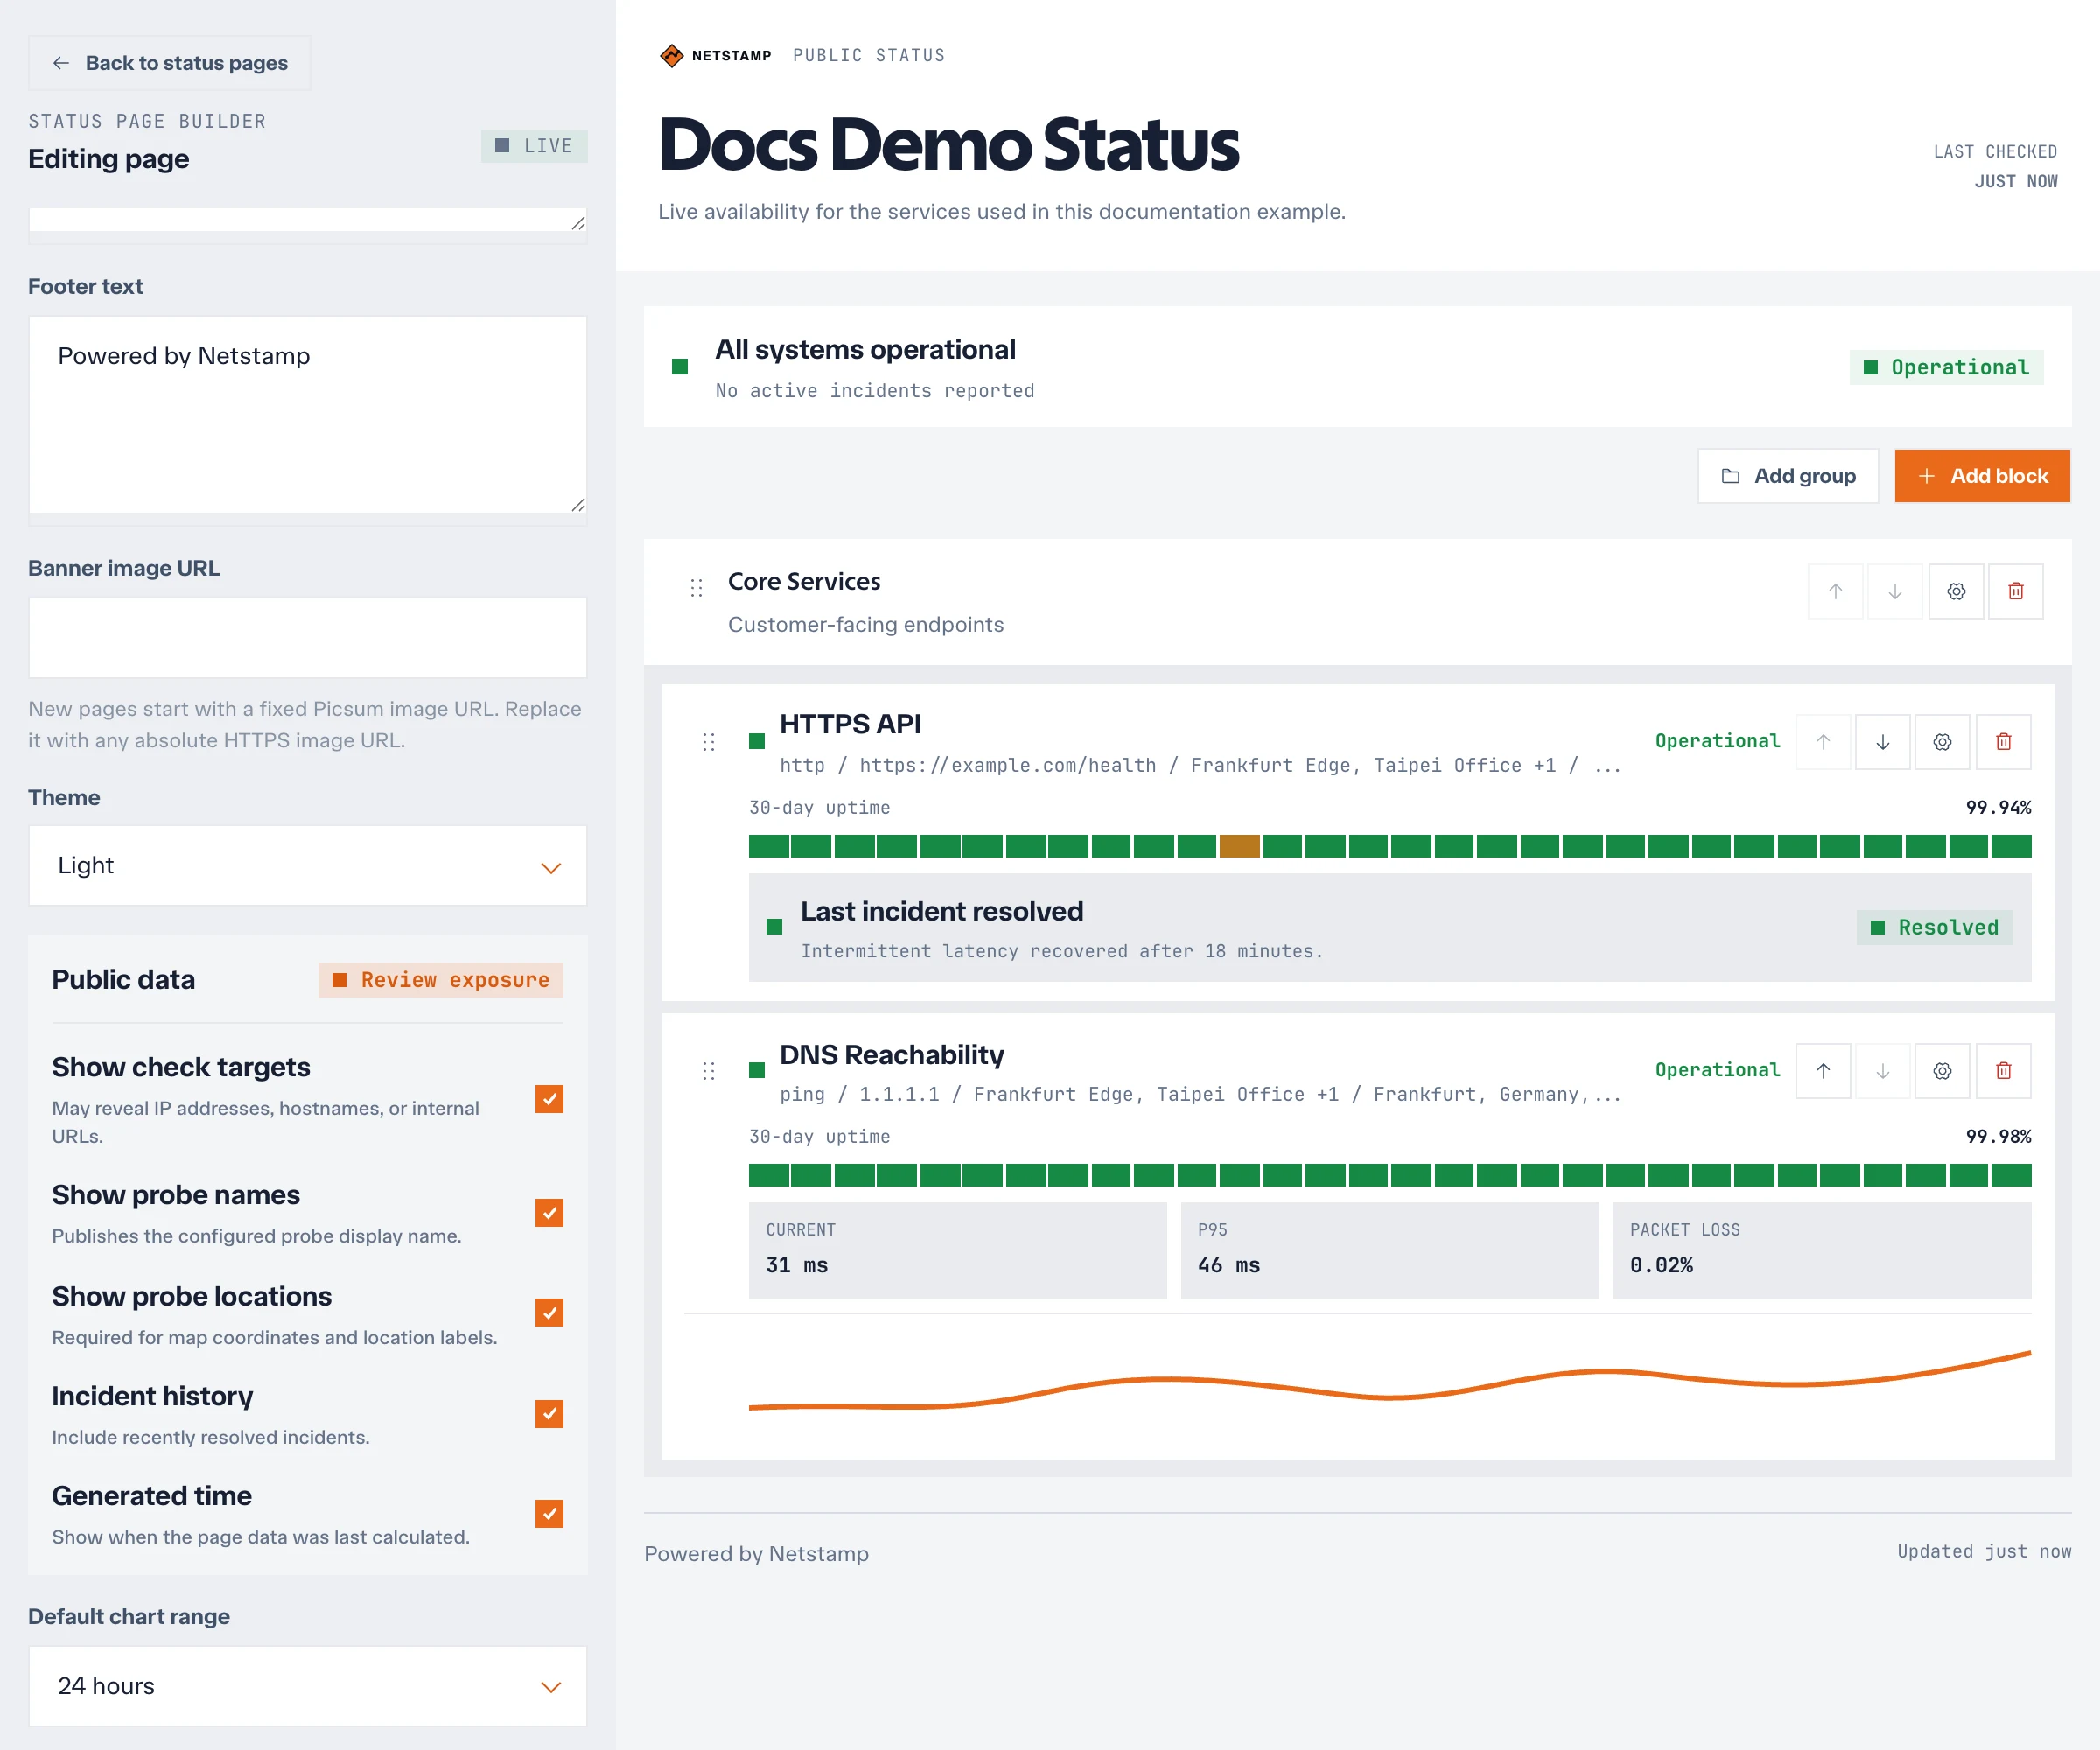
Before publishing, review check names, probe names, locations, labels, targets, and incident text for internal topology or customer information. Do not put secrets in any of these fields.
Interpret status
The page derives health from the selected monitoring data. A public page is only as representative as its checks and assigned probes, so confirm that:
- Checks cover the actual user path.
- Probes run from relevant networks or regions.
- Disabled or stale checks are not presented as current evidence.
- Alert and incident behavior matches the public message you intend to communicate.
Change a slug or remove a page
Changing the slug changes the public URL. Update bookmarks, DNS redirects, and external references after a change.
Disable or delete a page when it should no longer be public. Then verify the old URL from an unauthenticated session and remove any reverse-proxy or CDN caching that could retain it.
Treat a status page as a public interface: keep its scope deliberate, review it after monitoring changes, and test it during incident exercises.
Before sharing the URL, review the underlying checks and alert behavior.